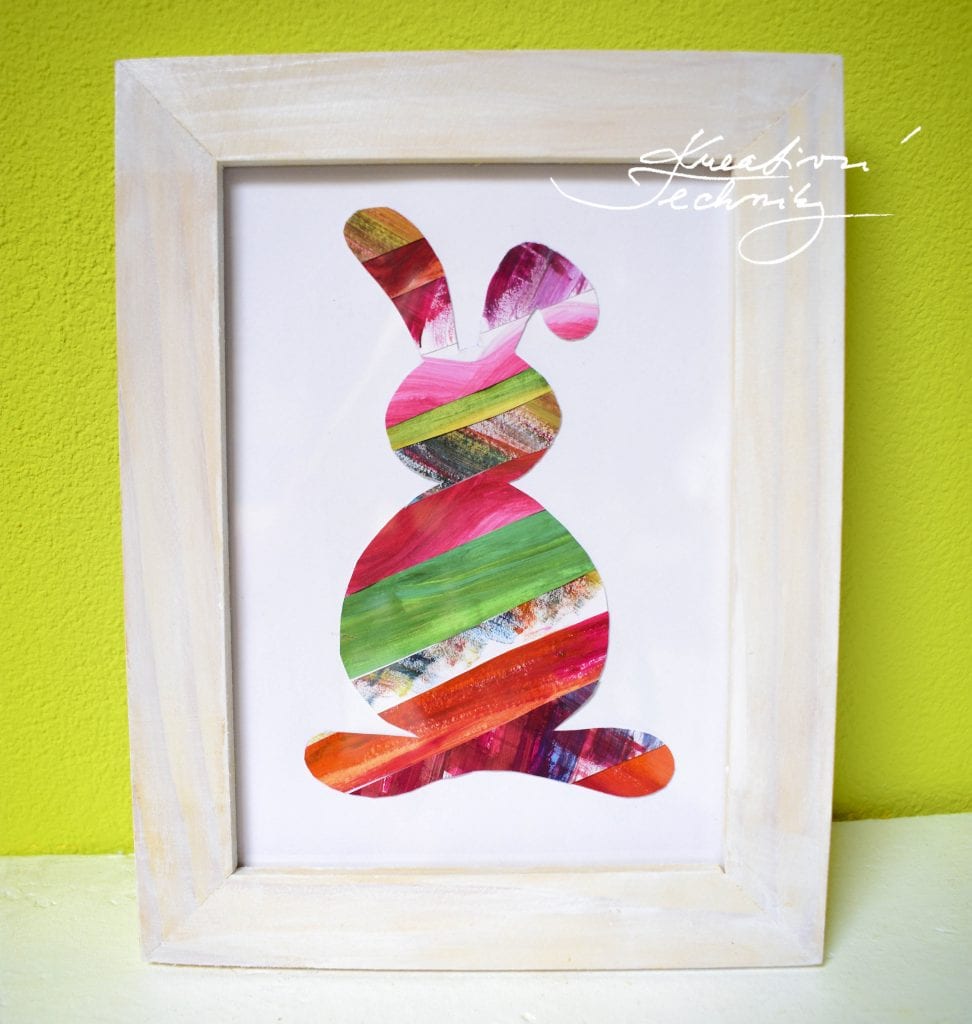
Easter bunny, a symbol of Easter, should not be missing in our Easter decor. The spring holidays are around the corner, therefore we and our children made a variegated Easter bunny picture in advance. Here you’ll find instructions on how to make yourself one and a template for making an Easter bunny themed picture. We can hang the picture on a wall or put it wherever we want to and decorate the kid’s room or the interior of our housing with it.
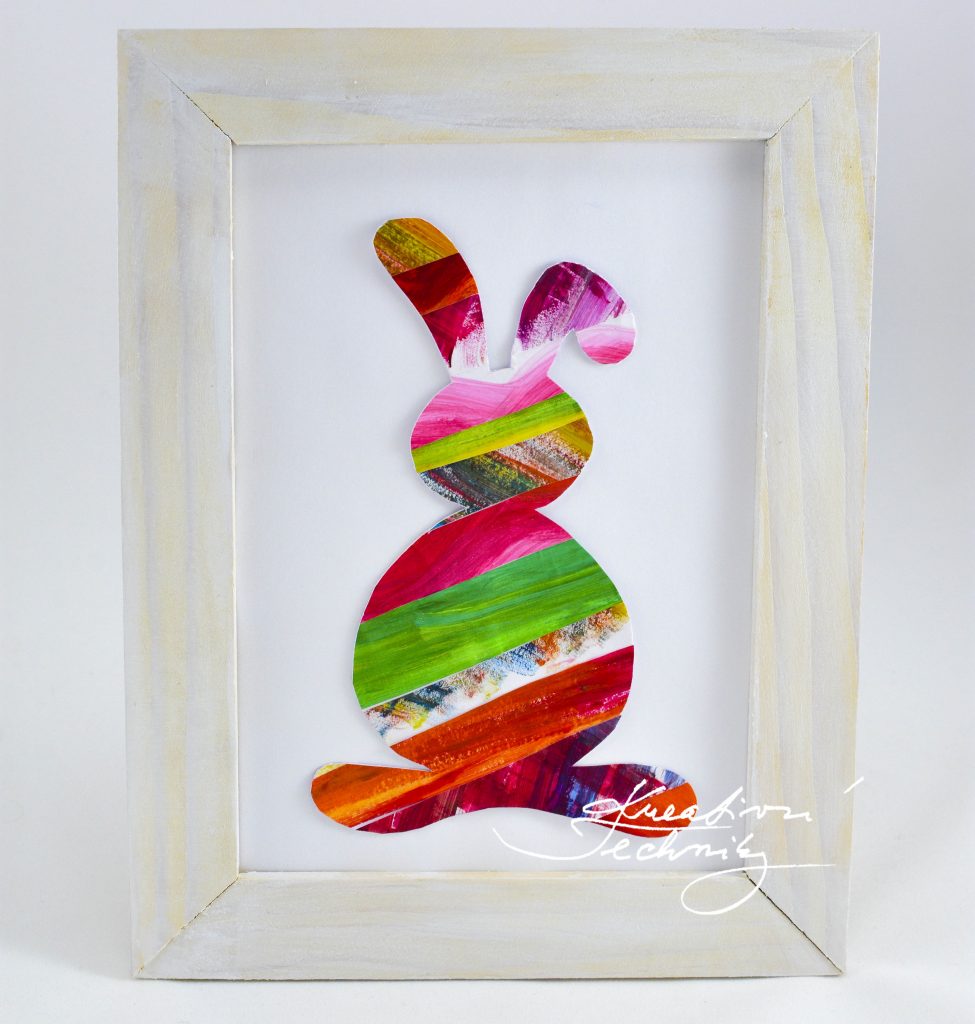
The making of the picture is not complicated at all. The kids can choose their own colour combinations. The more they create it to their liking, the happier they’ll be. A handmade picture will surely make them happy as a room decoration, or they can give to anyone as a Easter gift.
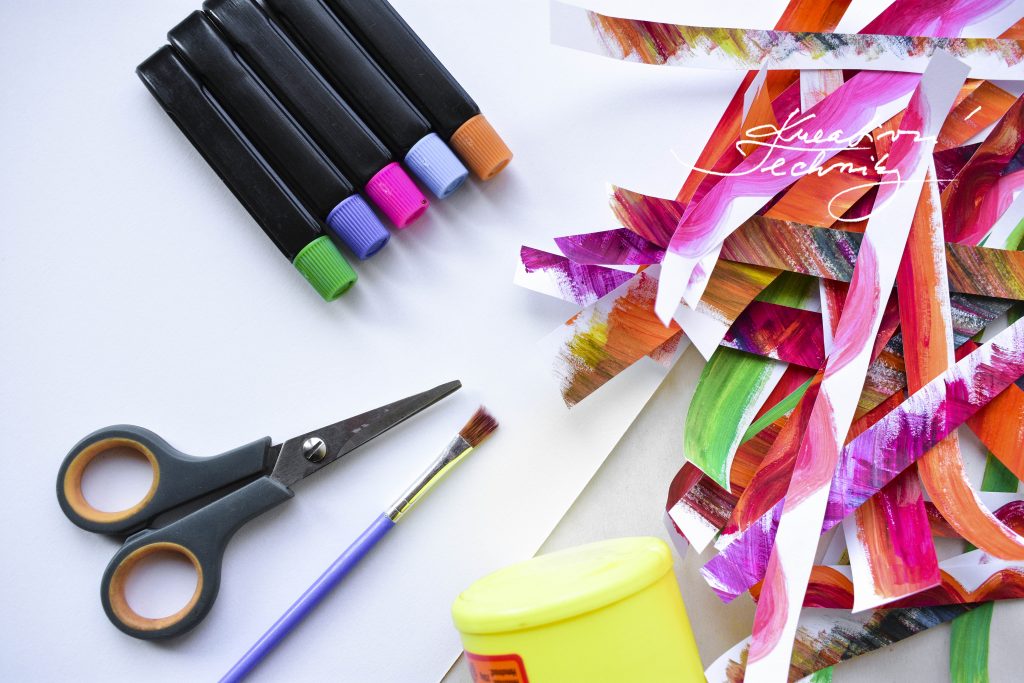
Material:
- white sturdy paper
- tempera
- pdf bunny template – download
- scissors
- paper glue
- wooden frame 15×10 cm
- white wood colour
Download templates:
Tutorial:
How do we, with our children, make the bunny shown in the picture?
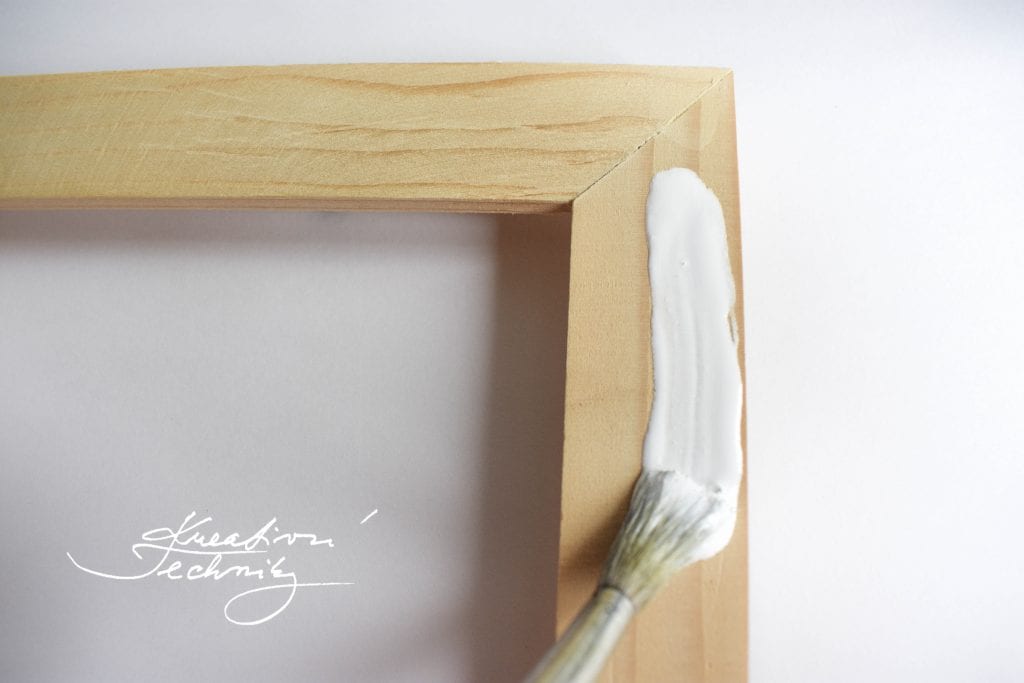
First we paint the wooden frame. The frame needs to be dry, before we paint it.
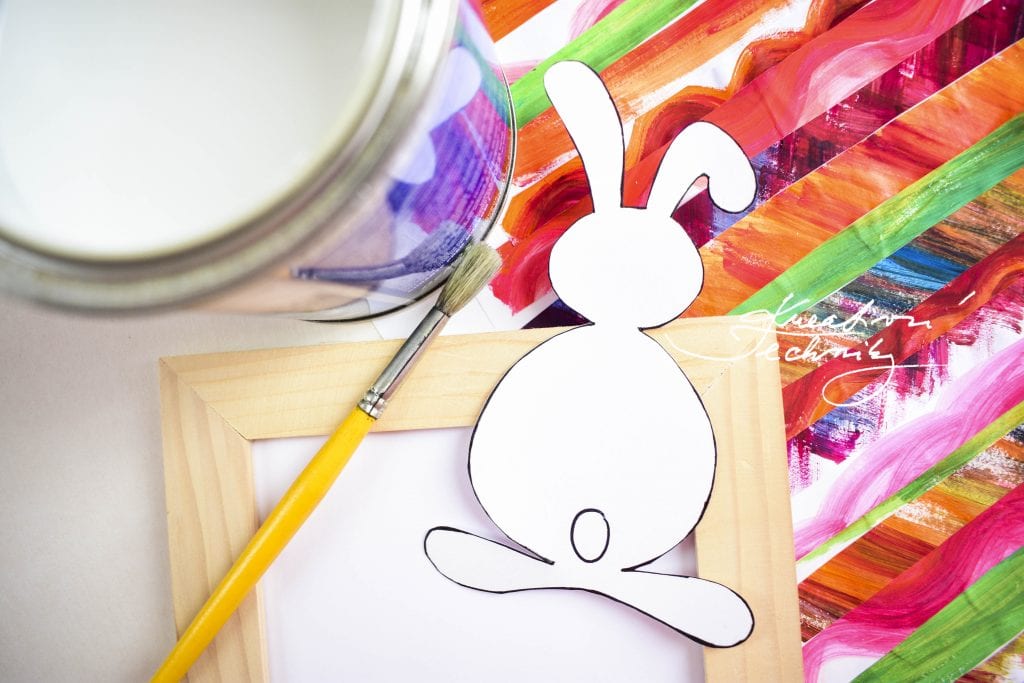
We create the Easter bunny according to the PDF template above.
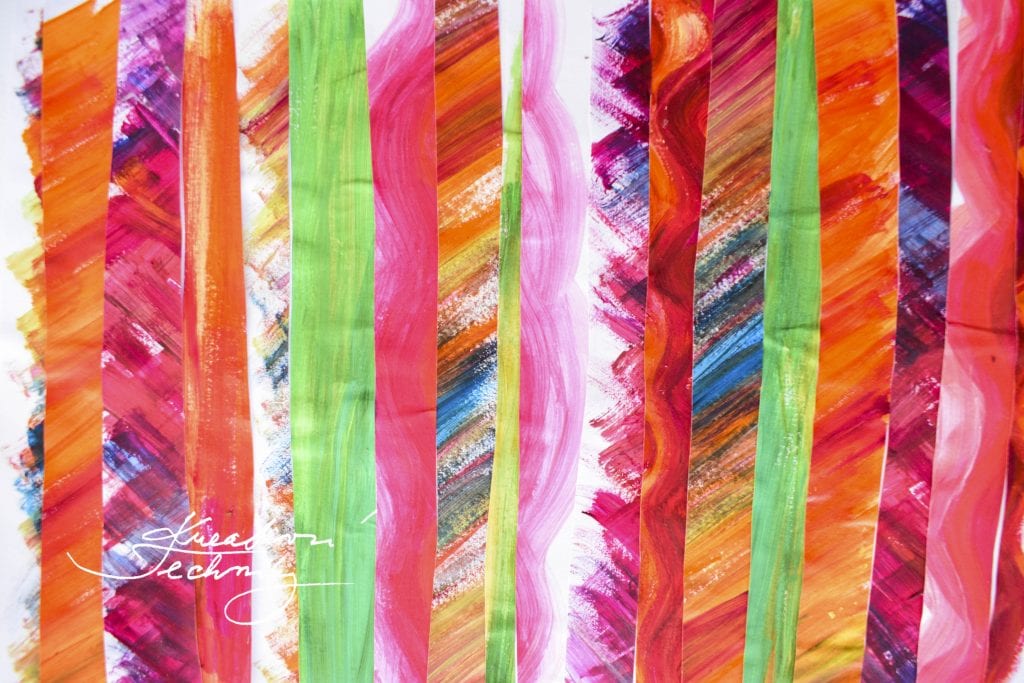
We prepare an original colourful decor, to make ourselves coloured stripes. The kids choose the colours they like the most. They’ll paint the sturdy paper according to their fantasy. If you want, you can use the decor from the enclosed PDF template.
We’ll cut out stripes about 1 cm wide out of the prepared coloured paper. We glue the stripes on to the clean sturdy paper.
After it dries out, we outline the bunny onto them and cut it out.
We put the cut out bunny into our prepared frame. We underlay the coloured bunny with white paper.
Kids can decorate their own room with the homemade coloured picture or give it anyone they’d want to.
TIP!
If you do not have a wooden frame at home, no worries. You can use a photo frame of a similar size, that you own and it fits the colours. You can eventually recycle it, paint it.
